Tips for Terrific - and Tidy! - Jack-o'-lanterns
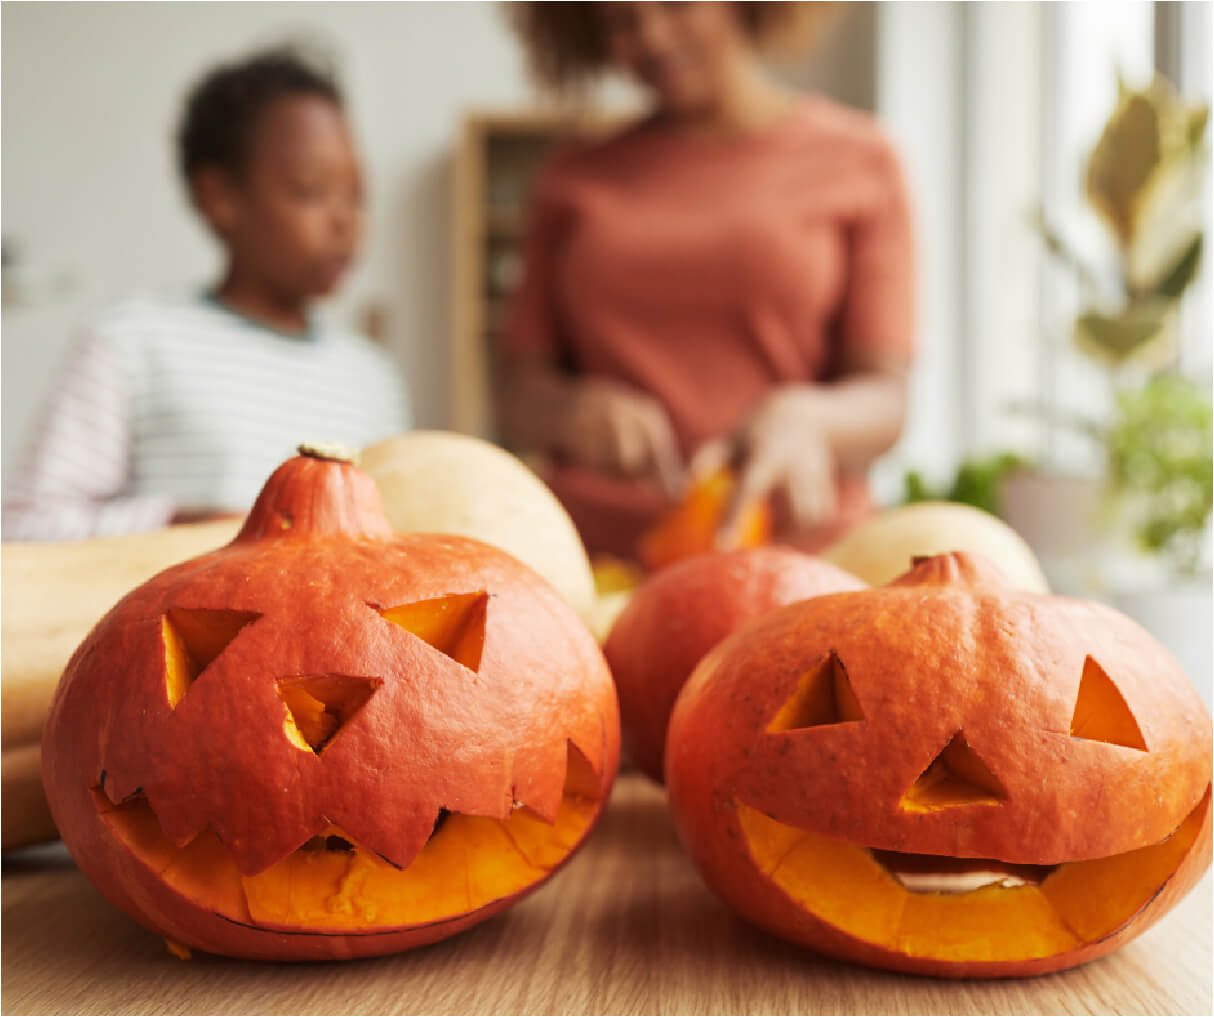
When the leaves begin to fall and the air turns crisp, it’s time to embrace one of the most beloved traditions of the season – pumpkin carving. Jack-o’-lanterns, with their eerie glow and spooky designs, are a staple of Halloween décor. However, as anyone who’s wielded a knife near a pumpkin knows, it can be a messy endeavor. But fear not, for in this blog post, we’ll provide you with expert tips to create terrific – and tidy – jack-o’-lanterns. As a trusted house cleaning company, we understand the importance of keeping your home clean and are here to guide you through the process of pumpkin carving without the mess. Get ready to make your Halloween celebrations truly special with these carving and cleanup tips.
Carving Tips:
1. Choose the Right Pumpkin
- Opt for a fresh, sturdy pumpkin without soft spots or blemishes.
- Check that the pumpkin sits flat to avoid wobbling during carving.
2. Design Your Pattern
- Plan your design in advance. There are countless templates available online for inspiration.
- Mark the areas to be carved with a washable marker, so you know where to cut.
3. Invest in Proper Tools
- Use specialized pumpkin carving tools or serrated knives. These are safer and more effective than regular kitchen knives.
- Have a scooper or pumpkin gutter on hand for removing seeds and pulp.
4. Safety First
- Carve away from your body to avoid accidents.
- Consider using a battery-operated LED light instead of an open flame for safety.
5. Cut at an Angle
- Carve at a slight inward angle so that the pumpkin lid doesn’t fall inside.
Cleanup Tips:
1. Pumpkin Gut Removal
- Place newspaper or a garbage bag on your workspace to catch pumpkin guts.
- Use a scooper or your hands to remove seeds and pulp. Save the seeds for roasting.
2. Rinse the Pumpkin
- Rinse the inside and outside of the pumpkin with a hose or in a sink. This makes it easier to remove any remaining seeds and pulp.
3. Soak in Water
- Soak the pumpkin in a solution of water and bleach (1 tablespoon of bleach per gallon of water) for 10-15 minutes. This helps preserve the pumpkin and reduce mold growth.
4. Scrub Gently
- Use a soft sponge or scrub brush to remove any stubborn pulp or pumpkin bits.
- Rinse thoroughly.
5. Drying
- Allow the pumpkin to air dry completely before carving to avoid a slippery surface.
Preservation Tips:
1. Pumpkin Preservative Spray
- Consider using a commercial pumpkin preservative spray to extend the life of your jack-o’-lantern.
2. Petroleum Jelly
- Apply a thin layer of petroleum jelly to the cut edges of the pumpkin. This helps seal in moisture.
3. Refrigeration
- If possible, store the pumpkin in the refrigerator overnight to keep it fresh.
Display Tips:
1. Use a Candle Holder
- Instead of placing a candle directly inside the pumpkin, use a candle holder or glass jar to prevent it from scorching the interior.
2. Battery-Operated Lights
- For a safer option, opt for battery-operated LED lights. They come in various colors and flicker like real candles.
3. Avoid Direct Sunlight
- Display your jack-o’-lanterns away from direct sunlight to prevent premature rotting.
4. Regular Check-Ups
- Check your jack-o’-lantern daily for signs of wilting or mold, and address any issues promptly.
Cleanup After Display:
1. Dispose of Responsibly
- When it’s time to say goodbye to your jack-o’-lantern, compost it if possible.
2. Clean Your Workspace
- Dispose of newspapers, pumpkin remnants, and rinse your carving tools thoroughly.
3. Wash Hands
- After handling pumpkins, thoroughly wash your hands to remove any lingering pumpkin residue.
Carving a jack-o’-lantern is a cherished tradition that can be a joyous and mess-free experience with the right approach. By following these carving, cleanup, and preservation tips, you can enjoy a perfectly preserved jack-o’-lantern as part of your Halloween décor. At The Dust Devils, we believe in the beauty of a tidy home, and with these expert tips, you can embrace the Halloween spirit while keeping your space clean and organized. Happy carving!
Interested in a FREE quote?
Ready for a cleaner home? Fill out the form below for a free estimate. Let’s make your home shine together!